Jewelry is an art and a timeless expression of character. Creating jewels may be challenging, but making a simple ring is a project fit for any jewelry enthusiast.
Every jewelry designer has to start with the basics.
Whether you’re venturing into jewelry making or just want to add a self-made piece to your jewelry box, we will guide you through all the steps required to make a simple but exquisite silver ring.
To make this ring, you will need the right tools and materials, but also to practice some techniques and to ensure your own safety throughout the whole process.
You can start by making a mock-up in a less valuable material, such as copper, to perfect your skills and learn more about the crafting process.
Materials
- 14-gauge (1,5 mm) silver sheet
- 18-gauge (1 mm) silver sheet
- 24-gauge (0,5 mm) gold or silver sheet
- Flux
- Silver solder: hard and easy
- Pickle
- Flat-backed cabochon gemstone
Tools
- Dividers
- Ruler
- Saw
- Half-round pliers
- Soldering block or firebrick
- Soldering tweezers
- Torch
- Paper towels
- Files
- Round mandrel
- Mallet
- Parallel pliers
- Binding wire
- Wet and dry papers
- Blue tack
- Handheld clamp
- Pusher/punch and hammer
- Burnisher

Step 1 | Measuring
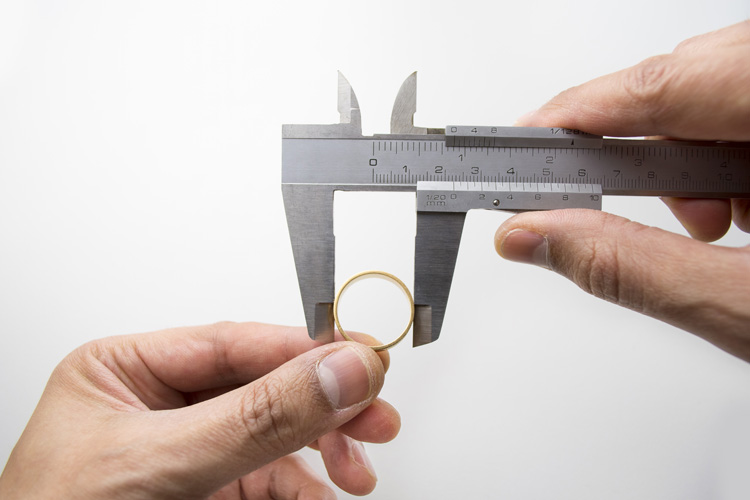
The first step is to choose the size of your ring. You can do it by using a ring sizer to discover your ring size, measuring the diameter, and multiplying it by pi (diameter x 3.142).
Another alternative involves fastening a piece of wire around a ring mandrel on the marking for the size required and then cutting it, spreading it out, and measuring its length.
Step 2 | Piercing
Open the dividers to the width of the band you want for your ring.
Place one point of the dividers over the edge of the 18-gauge metal sheet and the other point over its surface. Run the dividers down the edge of the metal, marking a line to the length you previously chose.
Place the silver sheet on the bench pin, holding it with your free hand, and hold the saw at right angles to the metal, with the blade just touching the line you set for cutting.
To make the first cut, you can hold the saw at an angle to the metal and then straighten it and cut along the line with soft and long strokes. The cutting movements should be smooth, with no tension in your hand.
Step 3 | Annealing
Now, it’s time to anneal. Place some non-oxidizing powder in a saucer and add a bit of water or methylated spirit to make a thick paste. Add a little bit more fluid to paint it over both sides of the metal easily.
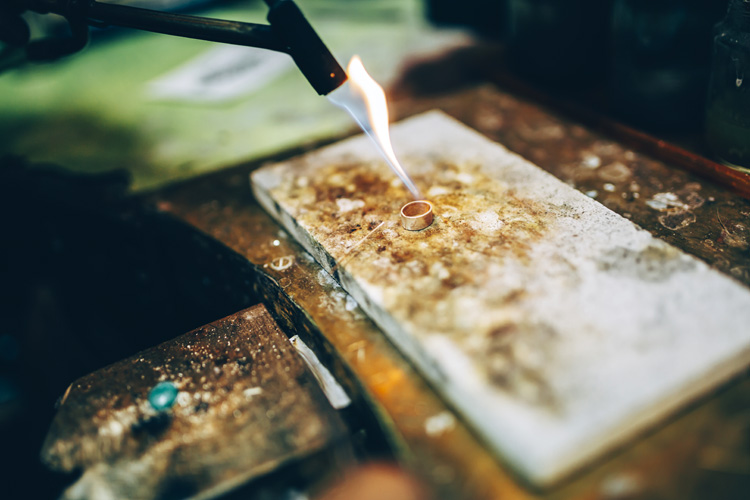
Slowly sweep the torch over the silver strip, making sure to move the torch evenly across the entire surface of the metal, gradually heating it.
After between 35 and 45 seconds, the metal should begin to glow a dull red color. Keep this temperature for approximately another 1 minute and 20 seconds.
Allow the metal to cool for a few moments, then pick it carefully with the soldering tweezers and quench it.
Step 4 | Quenching and Pickling
To quench the strip of silver, simply place it in cold water, preferably inside a strong glass container.
Once the silver is cool, choose the pickle you are going to use. If you’re using alum, for example, place two or three tablespoons of alum crystals, add water, and heat it in a slow cooker inside a plastic container.
Place the silver in the pickle and leave it there for a minimum of five minutes.
When pickling, keep in mind that all acids are dangerous, so handle them with care. To add or remove anything from a pickle, always use a pair of tweezers.

Step 5 | Soldering
Use the half-round pliers to shape the ring. Once the ring is bent and ready to be soldered, place it on the soldering block and flux the join.
Add a small piece of hard solder under the join, and solder it up.
Once the process is complete, pickle and rinse the ring, drying it with towel paper at the end. File the excess solder and use the mandrel to round up the ring.
Step 6 | Creating the Bezel
Using the dividers, measure the height and length of the gemstone, and calculate the size of the bezel.
Use the dividers again to mark the length and width of the bezel in the 24-gauge silver or gold sheet, and pierce out the strip.
Anneal the piece, pickle it, rinse it and dry it with paper towels. Use hard solder to solder the join, and use the file to remove any excess solder.
Carefully round up the bezel using the mandrel and a mallet, and give the bezel the right shape for the gemstone with the parallel pliers.
To finish the bezel, place it over the 14-gauge silver sheet, flux around the join, and solder it with hard silver solder.
Saw the excess metal away and file the outside edge of the bezel to make the solder line disappear.
Finish by filing the bottom of the setting with a half-round file, with a profile that is similar to that of the ring, until it perfectly fits the ring.

Step 7 | Soldering the Bezel to the Ring
Use binding wire to hold the ring and the setting together. Flux and solder, using paillons of easy solder around the join of the setting. Pickle, rinse, dry, and file away any excess solder.
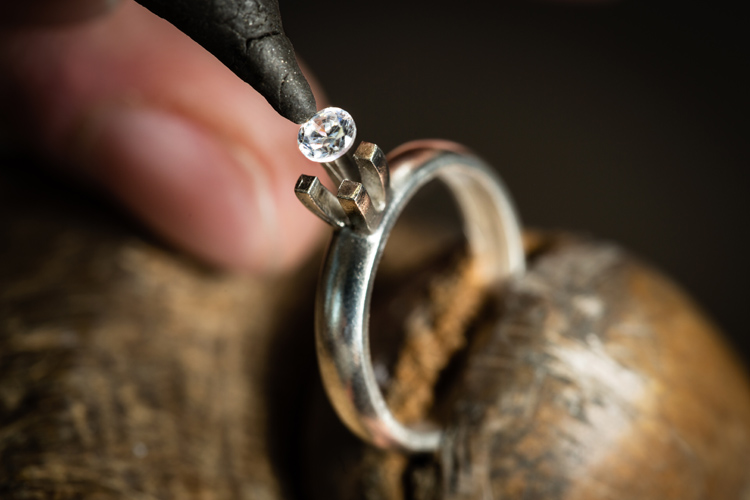
Clean the ring, place the gem on the setting and file down the top until it reaches the curve on the top of the stone. Using a needle file, file around the bezel to make it a little thinner at 45 degrees.
Gently push the edge of the bezel around the gem using a handled clamp and a pusher. Once the bezel is perfectly set around the stone, polish the edges with the burnisher.
Your ring is now finished and ready to wear.
For more in-depth information on how to make a jewelry piece, get “The Complete Jewelry Making Course” and “Simple Soldering: A Beginner’s Guide to Jewelry Making.”
Want to start a jewelry business? Learn how.


