Diamonds are a timeless and iconic symbol of luxury and elegance, and learning how to draw them can add a touch of glamour to your sketches and illustrations.
Drawing a diamond may seem daunting at first, but with a few simple steps and some practice, you can master the art of drawing this precious gem.
In this tutorial, we will guide you through the step-by-step process of drawing a paragon, from the basic shapes to the finishing touches.
So grab a pencil and some paper, and let’s get started.
Here’s a step-by-step tutorial on how to do it:
Start by drawing a straight vertical line in the middle of your paper.
This line will be the center of your diamond, so make sure it’s straight and in the center of your paper.
Draw a triangle shape above the vertical line.
This will be the top of your diamond.
The triangle should be wider at the top than at the bottom, but the bottom point of the triangle should be aligned with the vertical line you drew in step 1.
Draw a second triangle shape below the vertical line.
This will be the bottom of your diamond.
The bottom triangle should be the same size as the top triangle, and the two triangles should be connected at the bottom.
Draw two straight lines connecting the top triangle to the bottom triangle.
These lines should be diagonal and should connect the top point of the top triangle to the bottom point of the bottom triangle.
Now that you’ve drawn the basic shape of the diamond, it’s time to add some shading to make it look three-dimensional.
Start by shading the top triangle with a darker pencil or by pressing harder with your pencil.
Leave the bottom triangle blank or lightly shaded.
Shade the edges of the diamond where the triangles meet.
Use a lighter touch for the shading and blend it in with the shading on the top triangle.
Use an eraser to add highlights to the diamond.
Erase small sections of the shading on the top triangle to create a shiny, reflective surface.
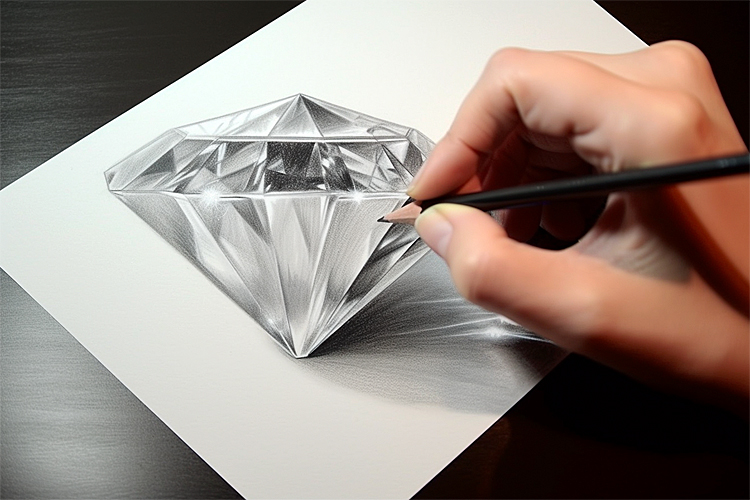
Add any final touches or details to your diamond drawing.
You can add additional shading or highlights to make it look more realistic.
And there you have it – a completed diamond drawing.
Remember, practice makes perfect, so keep practicing and experimenting with different shading techniques to create more realistic and unique diamond drawings.
This website uses cookies.